Wednesday, February 27, 2013

Hand Milled Soap

I have wrestled with myself on exactly how much of this story to divulge.
I decided to go ahead and tell you the whole thing.
So, here we go.
 
This is my extra bubbly good for shaving soap.
It has bentonite clay for slip.
It has castor oil for extra lather.
 
This soap doesn't stay in stock for long.
There is also always a bar or two in my shower.
So I made a 10 pound batch recently.
 
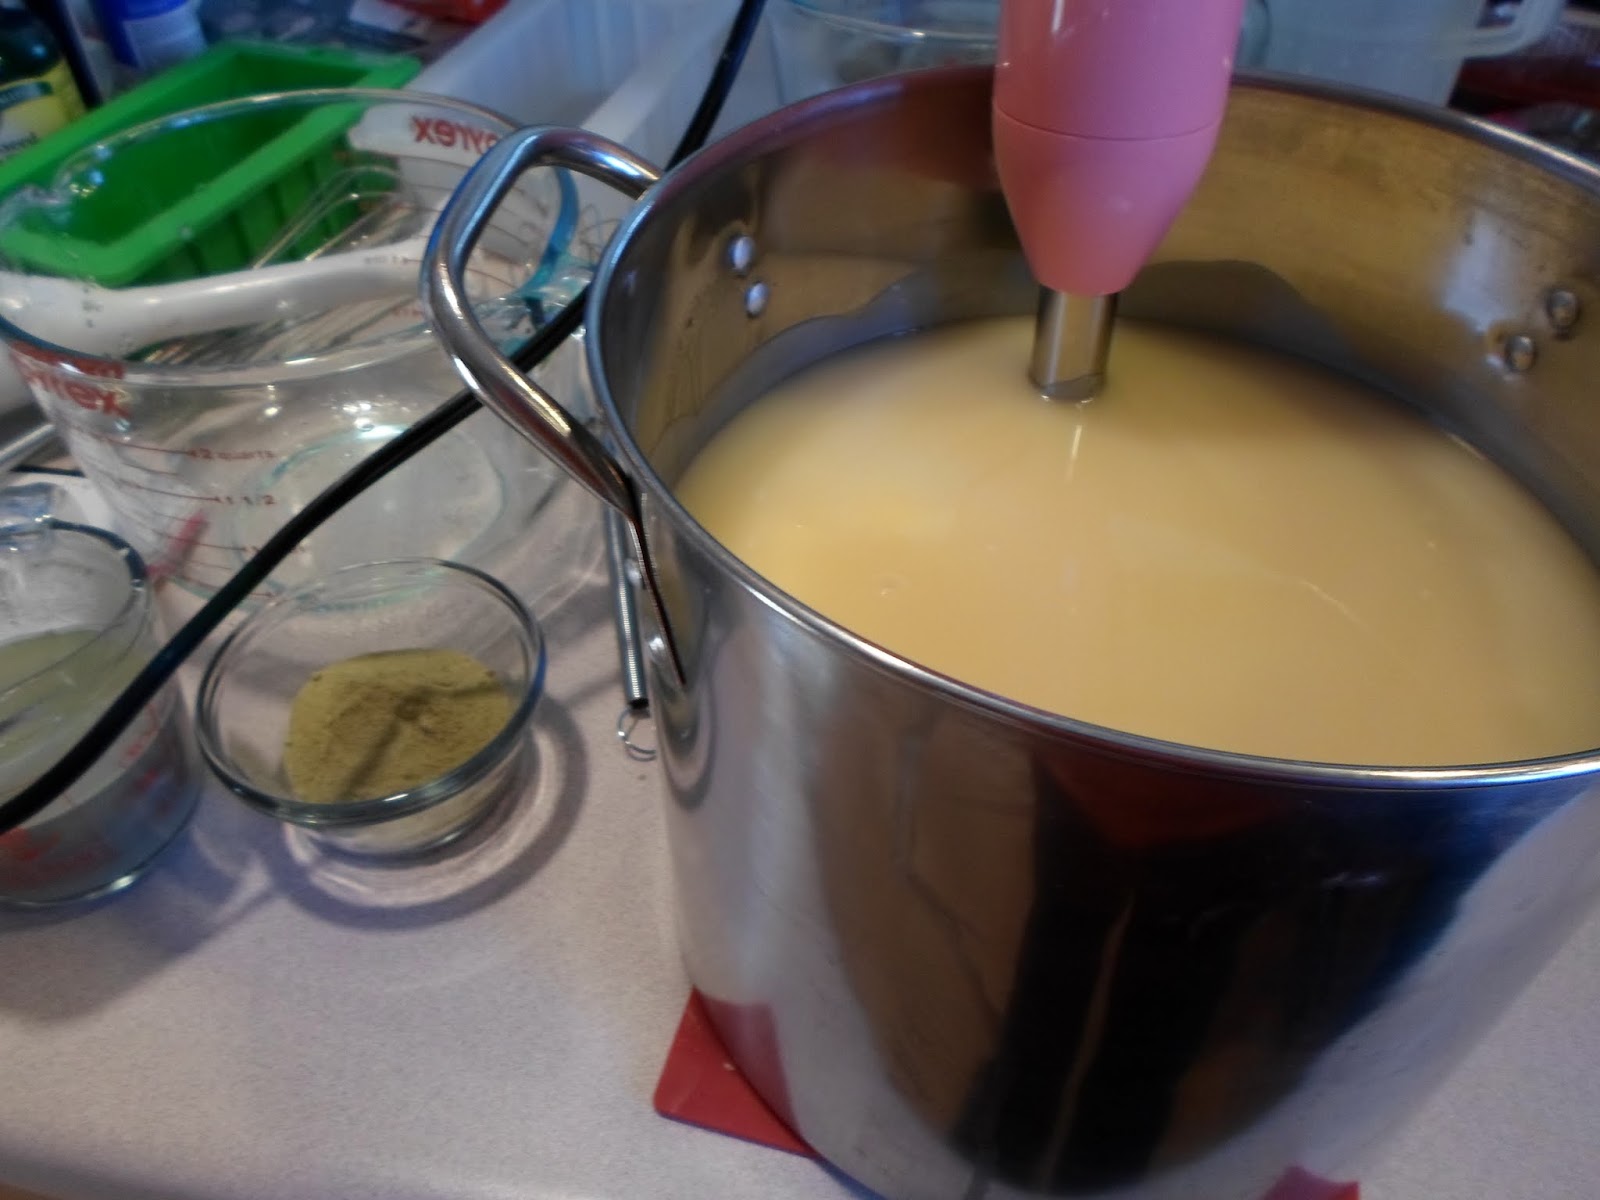
I added the clay to the liquid oils.
I hadn't done it this way before.
It seemed to work well.
 
When the soap was at light trace
I added some colorant.
I used Blue Mix Labcolor from Bramble Berry.
It's been my go-to color for this soap.
I usually make three layers
In three variegated (ombre?) shades of blue.
 
Also from Bramble Berry
It's manly, but most women like it too.
 
Fast forward to the poured soap.
I guess I forgot to take pictures of several steps.
 
 There was so much soap that it filled four loaf molds
Plus a few single bar cavities.
 
As I was putting supplies away,
I noticed the jug of castor oil.
Yes, jug.
I buy it by the gallon.
Anyway, I realized that I forgot to add the castor oil.
 
As the oils and lye combine to make soap,
The process of saponification occurs.
That means the oils and lye react
To produce soap.
 

Saponification takes the mixture from this

To this.
It also continues for several hours after the soap is poured.

When I design a soap recipe,
I use this SoapMaker program.
It lets me make sure there will be some leftover oils.
I think of it as the oils eating up the lye.
I shoot for about 5-8% more oils
Than what is required to "eat up" the lye.
If you are a soapmaker, it's okay if you chuckle at my
Technical explanation of saponification.

I did some quick calculations.
Based on the oils I did remember to use,
And based on the amount of lye used,
The soap was going to come out lye-heavy.
Not by a lot, but by a little.
You could even call it a smidge.

I use this extra bubbly soap for shaving.
But even if I didn't,
I would not be satisfied with lye heavy soap.
Even slightly, barely detectable lye heavy soap.

A really great thing about making soap
Is that you can almost always save a botched batch.

The way I saved this one was by hand milling it.
Here's how I did it.

Two days after the initial pour,
I unmolded the soap.
I cut the slighly lye heavy soap into small chunks.
I put these chunks into a crock pot.
I added the castor oil that I forgot the first time around.
The crockpot was set on low.
I melted the soap down.
It took a few hours.

This is known as rebatching, or milling.

Here's the melted soap glopped into a mold.

After another couple of days,
I unmolded the hand milled soap.

Here it is!

 
I'm quite happy with the end product.
I've already used part of a bar, and am loving it.

One advantage of hand milling is that
The soap can be used right away.
Usually there is a 3-4 (or more) week waiting period.

Another advantage is that the soap has an interesting look and texture.
I also think it produces more bubbles.

Each bar is one of a kind.

I set a lot of these bars back for personal use,
But a few will go up for sale.

Thanks for reading my hand milled soap saga!


Wednesday, February 20, 2013

Rainbow Soap on a Stick


Do you like rainbows?
 
Making these rainbow soaps is a multistep process.
Each layer is individually made, scented and poured.
 
Each layer has its own scent.
The overall fragrance is rather heady.
I love how my house smells on the days I make these.
 
These are the scents for each layer.
 
Cherry
 
Orange
 
Lemon
 
Lime
 
Blueberry
 
Blueberry Grape
 
Grape
 

Once they are set, it's time to take them out of the mold.
 
These are available in my Etsy shop for just $3.95 each.
 
Thanks for reading!


Thursday, February 7, 2013

French Green Clay Spa Soap

People love this French green clay soap.
French green clay is full of minerals.
It's great for our skin.
This is part of my spa line.
Most spa soaps contain clay.
 
To make this soap,
I started with my most used soap recipe.
The measuring cup at the left
Contains French green clay and distilled water.
 
I added lavender and tea tree essential oils.
Then I divided the batch into equal parts.
I added clay to one part.
 
A divider was placed into each mold.
I used cardboard pieces cut to size.
I covered the cardboard with duct tape.
Don't you just love duct tape?
Thank you, Soap Queen, for the idea of
Putting the end pieces in to hold the dividers steady.
 
The soap and molds are ready to go.
Maybe you can see the lines on each soap.
I wanted a medium to thick trace.
This way the layers will stay more defined.
Now it's time to pour.
 
The first layer in each mold
Has clay soap on one side
And plain soap on the other side.
 
The second layer in each mold
Has clay soap on one side
And plain soap on the other side.
The plain goes on top of the clay.
The clay goes on top of the plain.
 
I thumped the molds on the counter.
This helped the soap to settle into the mold.
Even after the thumping,
You can see there is some excess soap.
I love excess soap in the mold.
It lets me make some textured peaks on top.
 
Here it is with the dividers out.
Now for the peak making fun!
 
Here's what it looks like
With the peaks.
 
Each bar is a unique creation.
This soap is cured and ready to go!
 
If you are interested,
You can find it in my Etsy shop.
 
Thanks for reading!


Monday, February 4, 2013

Triple Heart Soap Part 2

As promised, here is Part 2 of the Triple Heart Soap Project
 
If you missed part 1, you can find it here.
First, admire the layered hearts that you made.
 
Weigh out 10 ounces of white soap base.
Melt in microwave in 15 second bursts.
Add 1 teaspoon of fragrance oil.
Add pink or red body safe colorant.
Stir to combine.
 
Place loaf mold at an angle.
You can do this by propping up a long side.
I used some little measuring cups
And a wooden dowel.
Oh, and some cans of peanuts.
The weight of the peanuts
Kept the mold from sliding around.
 
Pour the pink soap into the mold.
Be careful to not pour on the sides.
If that happens, you can clean it up
After the layer hardens.
 
Now you need some patience.
Wait about a half hour or so.
What to do?
Clean the bathroom.
Read.
Do some laundry.
Take a walk.
 
Now it’s time to melt 10 ounces of clear soap base.
Add 1 teaspoon of fragrance oil.
Add red coloring and some glitter.
Tilt the soap mold the opposite direction.
The pink soap should be against the counter.
Make sure the red soap is between 120 and 125 degrees Fahrenheit.
Spritz the pink layer.
Carefully pour the red layer into the mold.
 
Now it’s time to wait again.
It will need a half hour or so to set up.
Things to do while waiting?
Read more of that book.
Sing a Song.
Play cards.
Play a board game.
Surf the web.
Read other SoapArt blog posts.
 
Okay.  Now it’s time for the finishing touches.
Melt 12 ounces of clear base.
Add 2 teaspoons of fragrance oil.
Add some glitter.
 
Place the mold flat on the work surface.
You now have a V where the layered hearts can sit.
When the clear, glittery soap is at 120 – 125 degrees Fahrenheit,
Spritz the pink and red layers.
Then pour a small amount of the clear soap into the V.
 
 Spritz each layered heart.
Be generous with your spritzing.
Place each heart in the clear soap.
I placed them very near each other.
I went pink to pink and white to white.
 
Wait 10-15 minutes for clear soap to solidify.
Spritz again.
Heat clear base for 10-15 seconds.
Once it is back to 120-125 degrees Fahrenheit,
Fill the remainder of the mold
With the clear glittery soap.
 
Wait for four hours or more.
 
Once soap is cool and solid,
Unmold and cut into individual bars.
 
Don’t want to make your own?
 
 
You can pick up a bar here for a limited time.
 
Thanks for reading!


Sunday, February 3, 2013

Triple Heart Soap - Part 1

Here's a fun soap that you can make at home.
The soap is made from a pre-made glycerin base.
There’s no cure time.
Once the soap solidifies, it’s ready to use!
There’s still time to make these for Valentines’ Day.
 
Here's what you'll need
Non-bleeding red and pink body safe colorants
Body Safe Glitter
Body Safe Fragrance Oil Made for Use in Soap
Clear Glycerin Soap Base
White Glycerin Soap Base
Spray Bottle of Rubbing Alcohol
Full Size Silicone or Bread Loaf Pan or other Mold
Silicone Heart Mold (or you can use a box and a heart cookie cutter)
Various Utensils
 
Steps:
Melt 8 ounces of white base.
To do this, cut up base into one inch cubes.
Weigh 8 oz. of cubes into a microwave safe container.
Heat on high power for 25 seconds.
Stir gently.
 
Continue heating in 15 second bursts.
Stir after each burst.
 
Once most of the base is melted,
Stir until all remaining pieces are melted.
Add 1 teaspoon of fragrance.
I used Ginger Ale fragrance oil from Bramble Berry.
It’s a light fresh scent.
 
Add pink or red colorant until you reach the desired shade of pink.
Stir gently to mix.
 
Pour into individual heart molds.
Pour until each heart is filled 1/3 of the way.
Fill as many molds as your base allows.
Spritz the top of the soap with rubbing alcohol.
This gets rid of any air bubbles that surface.
 
While that is hardening,
Melt 8 oz. of clear soap.
Add 1 teaspoon of fragrance oil.
Add red coloring until desired shade is achieved.
Add a little body safe glitter.
Stir gently to mix.
 
 
Once the base is about 120 – 125 degrees,
You are ready to pour the red layer onto the pink layer.
Spritz the pink layer with rubbing alcohol.
Gently pour the red soap over the pink layer.
Spritz away.
 
While the red layer hardens,
Melt 8 oz. of white base.
Add 1 teaspoon of fragrance oil.
Stir gently.
 
Once the base is about 120 – 125 degrees Fahrenheit,
Spritz the pink layer with rubbing alcohol.
Gently pour the white soap over the red layer.
Spritz any air bubbles on top.
 
 
Let the hearts harden for at least an hour.
Make sure they are fully cooled and set.
Gently remove the hearts from the mold.
 
If you don’t have a heart mold, you can do this instead.
Use 12 oz. of base for each layer.
Layer the colors into an 8x8 inch silicone pan or lined box.
Don’t forget to spritz between layers.
Once all layers are hard, remove from pan.
Use a heart cookie cutter to cut soap into heart shapes.
Reserve scraps for another project.
 
Now your triple layer hearts are ready.
 
Part 2 will be posted in a day or two.
 
Thanks for reading!